
Following the development and evolution of skin care, we’ve come to understand that each individual face has its own contours, genetic predispositions, and issues, down to the cellular level. Multi-masking is the pinnacle of this skin care evolution and revolution, combining knowledge of one’s unique face, identifying concerns specific to certain areas, and applying different masks for different effects to different areas of the face. You can create for yourself a customized facial, the height of personalized skin care luxury, as an at-home experience!
Face it: your face has got a lot going on. Dry patches here, clogged pores there, sometimes oily, sometimes red, some peeling from the one day you forgot to put on sunscreen and you ate lunch outside, that pimple that keeps showing up in the same exact spot -- and don’t even get started on seasonal changes in temperature, heat, pollution, and humidity. Multi-masking addresses the fact that no one mask can successfully address every micro-area on your face. In fact, one mask that benefits one area might aggravate a skin issue in another area. For instance, a mask that can shrink your pore appearance can massively dry out a more fragile area, like around your eyes. Evolve your skin care routine to the next level with multi-masking!
1. Make a plan. Spend some time, preferably in the morning and in the evening, and assess your face. Map out what your zones are: dry, oily, red, sensitive, etc. Note areas of specific concern, like an oily T-zone, crows’ feet, acne, and so on. Make sure you read the directions on the masks you plan to use. Some masks, like acne-fighting and oil-controlling masks which may use ingredients like charcoal and clay, need to be washed off before they harden on skin and actually cause damage and irritation. Other masks, particularly moisturizing ones, may benefit from a long absorption time, even overnight. Note how long a particular mask should be applied, and plan to apply the ones that take a longer time first.
2. Take a shower. Post-shower is the optimal time to multi-mask. The heat and moisture from your shower will steam loosen pore-clogging debris. It will also be the first layer of moisture any mask applied afterwards will lock in.
3. Exfoliate, exfoliate, exfoliate! Dead skin cells block absorption, so without exfoliation, you’ll be wasting all the good mask ingredients on primping an unnecessary surface. You can use an exfoliating mask, a sonic cleansing brush, or just apply some good ol’ elbow grease along with a clean washcloth to your face.
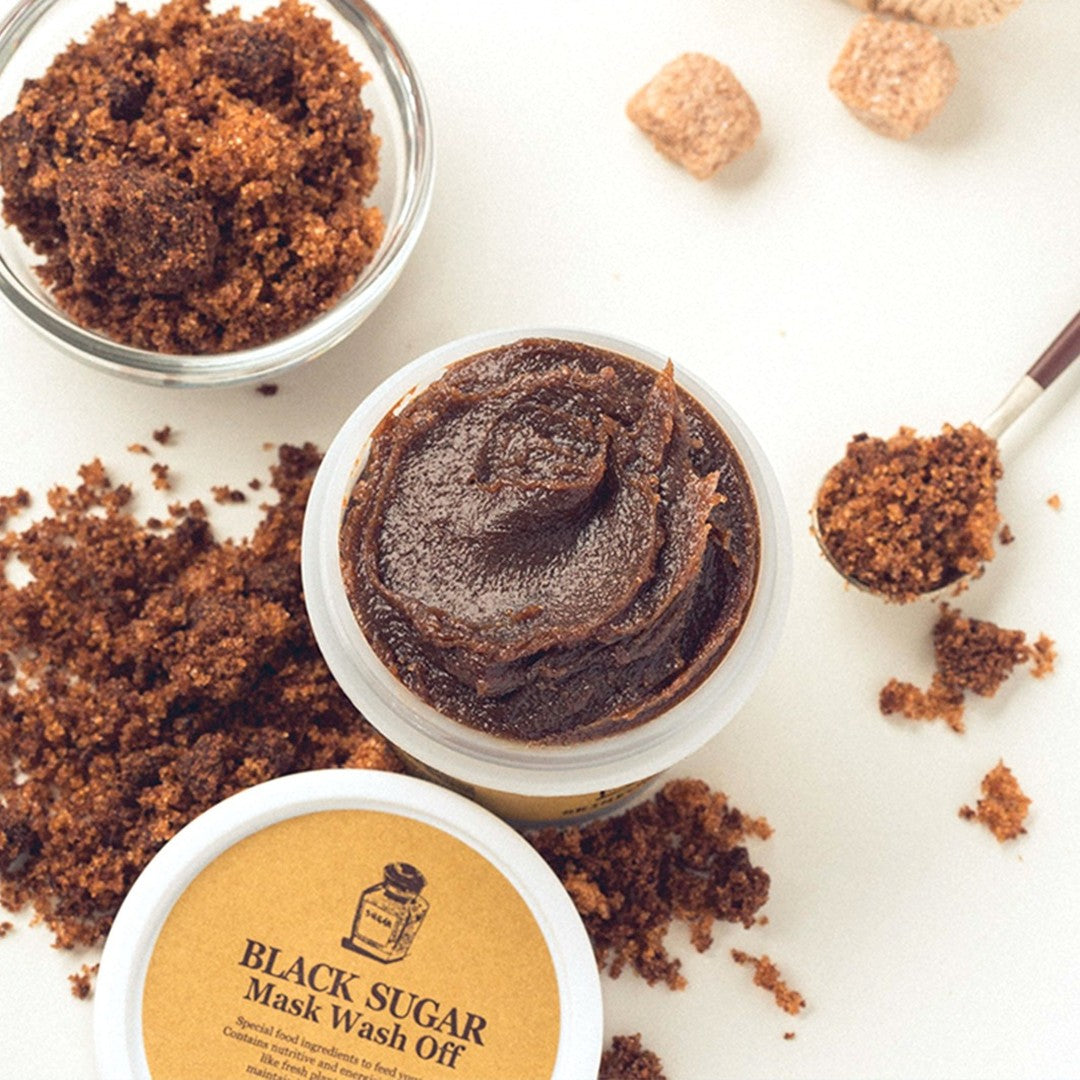
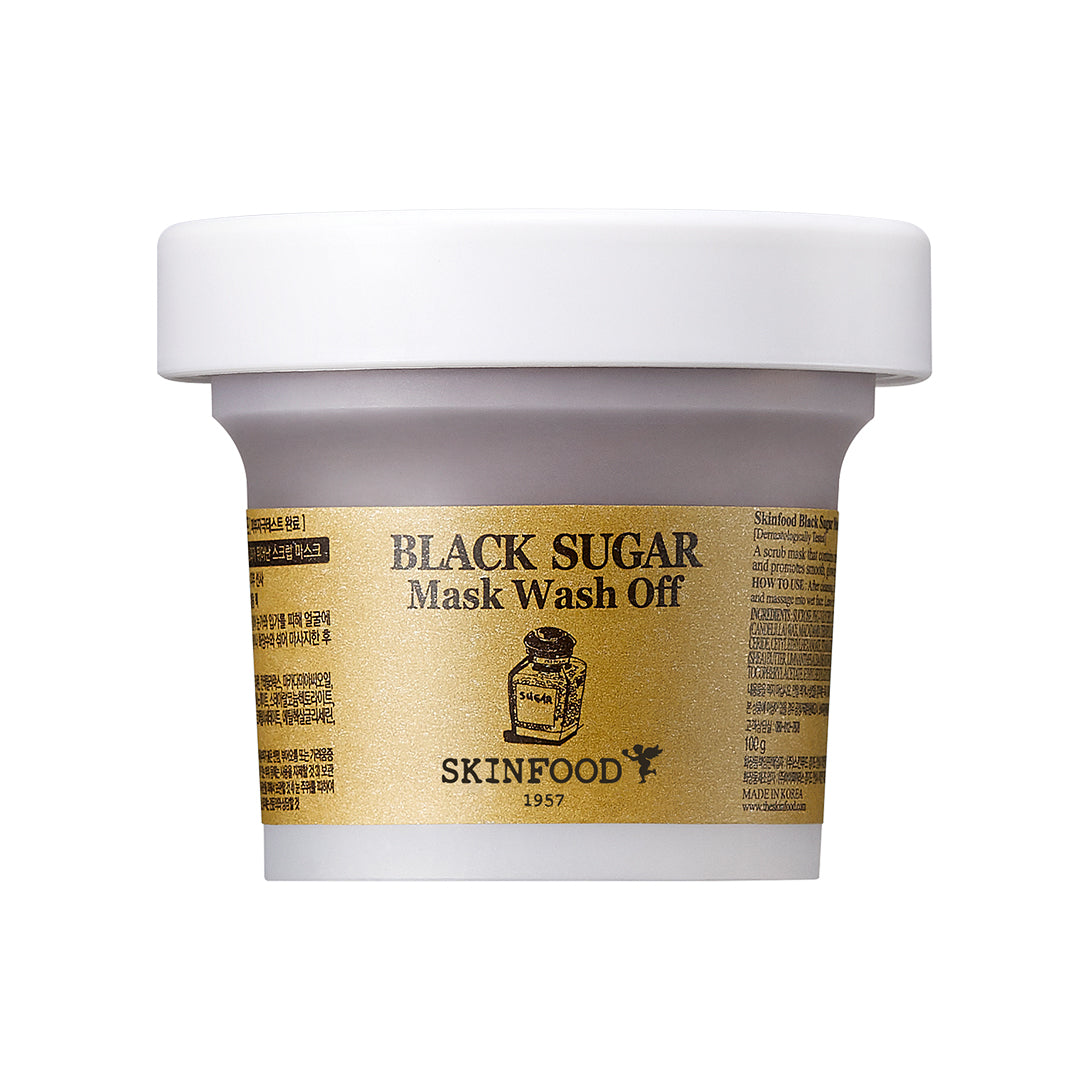
4. Mask it up! Follow your plan and start slathering strategically. Keep an eye on the timer. Bonus skincare points if you post a selfie of your multicolored masked face for the ‘gram! For example, you could target your oily T-zone with the Egg White Pore Mask and your dry cheeks with the Rice Mask Wash Off or Black Sugar Honey Mask Wash Off.
5. Wipe down, moisturize and massage. Pro tip: don’t aggressively scrub off stubborn mask residue. Scrubbing can irritate your skin. Lay a warm, damp washcloth over the area to loosen up the mask, then gently wipe off. Apply a lotion or sealing emulsion to moisturize and lock in all the mask goodness you’ve worked into your face with a massaging motion. Massaging stimulates a lifting and tightening effect, and is a happy burst of self-care too!
6. Don’t overdo it. Masks are heavier hitters than your everyday skincare products, and overusing them can overload your skin in a bad way. Check the directions carefully and gauge the intensity of the ingredients against the sensitivity of your skin to determine how frequently you should multi-mask.